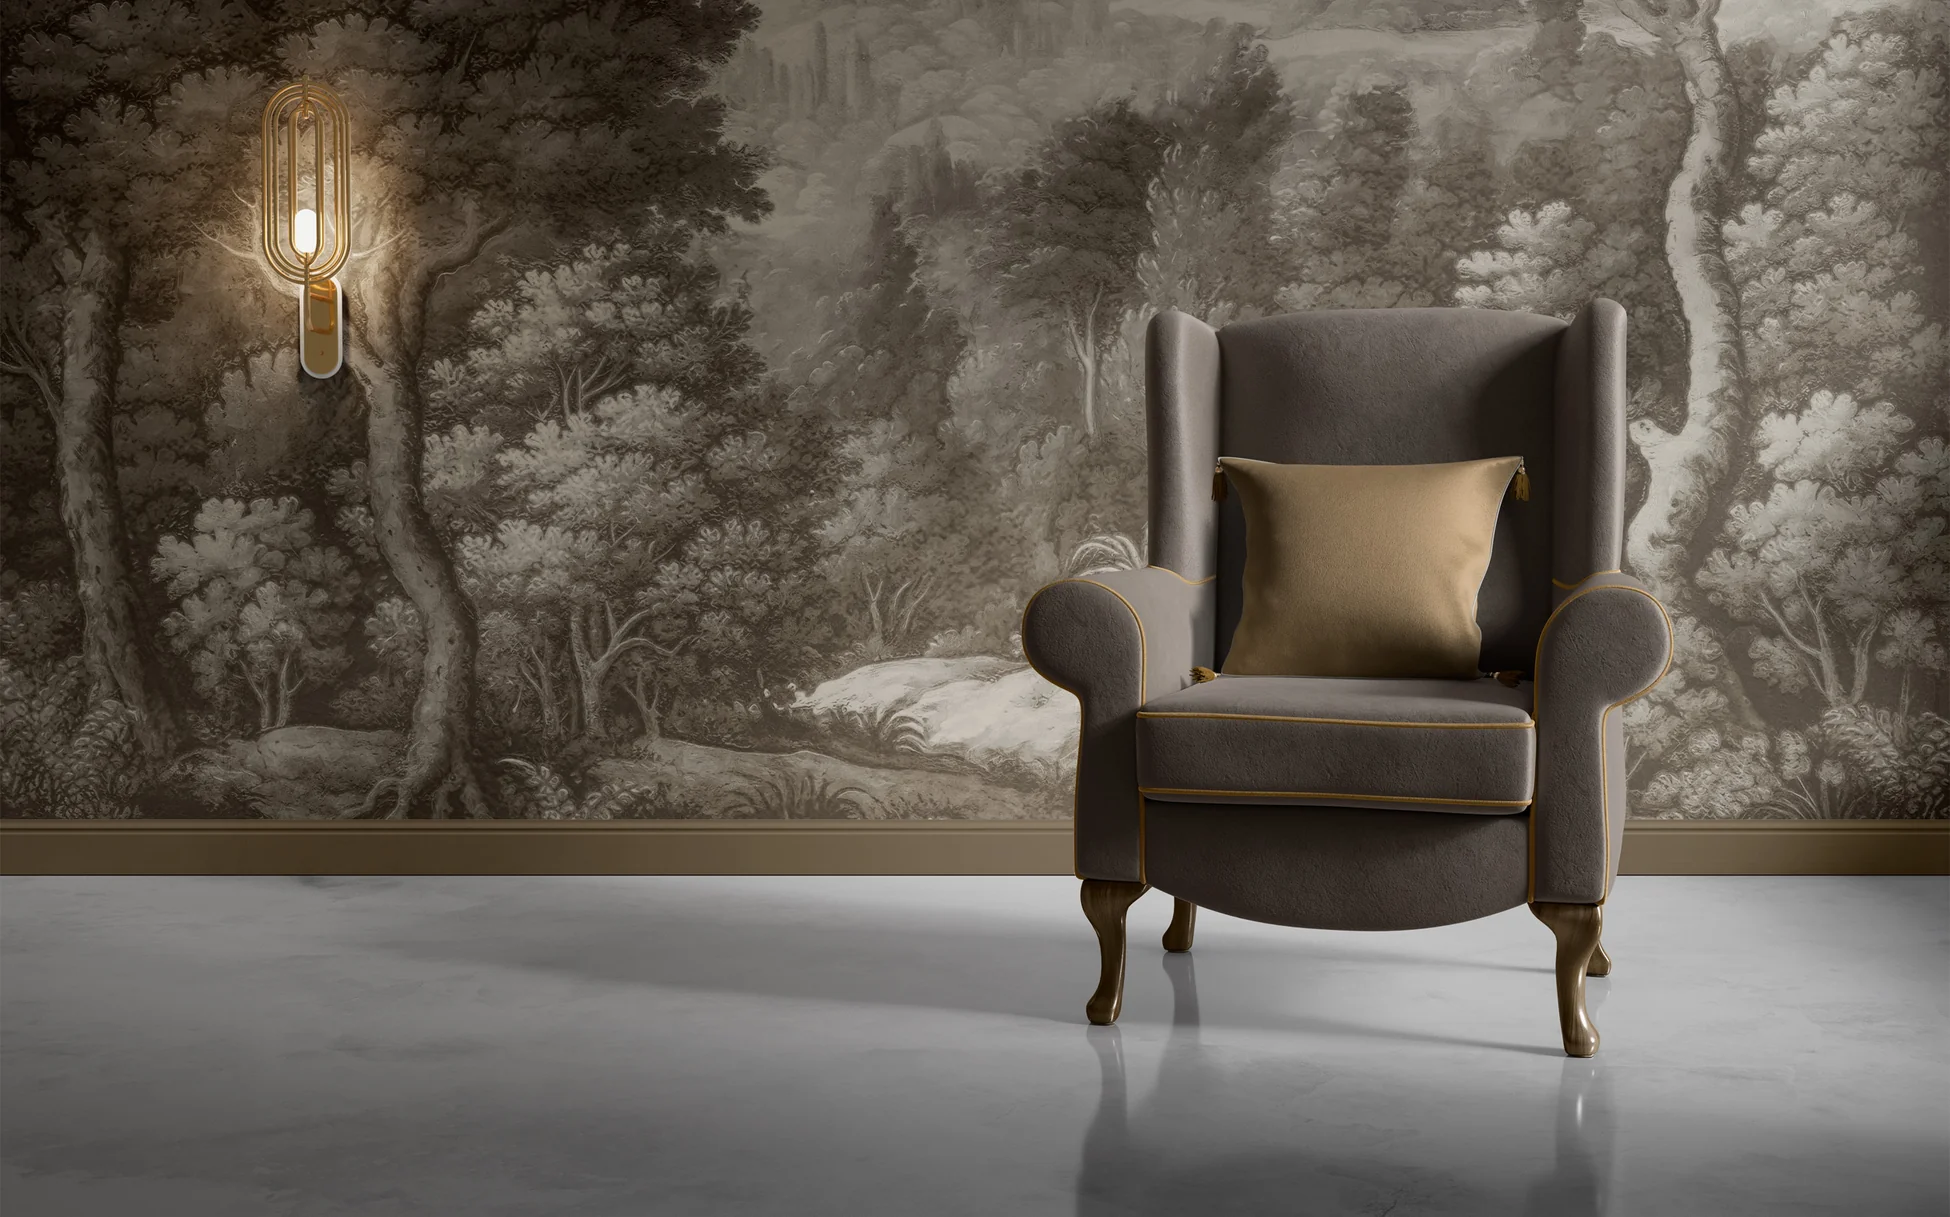
Installing custom wallpaper can change the look of any room, adding personality and style. While it may seem daunting, with the right tools and techniques, you can achieve professional results. Here’s a step-by-step guide to help you install custom wallpaper like a pro.
Gather your tools and materials:
Before you start, ensure you have all the necessary tools and materials. You’ll need:
- Custom wallpaper
- Wallpaper adhesive or paste (if not pre-pasted)
- Wallpaper smoothing tool or brush
- Utility knife or wallpaper cutter
- Measuring tape
- Level
- Straight edge or ruler
Prepare the walls:
Start by preparing the wall surface. Remove any old wallpaper, nails, or hooks, and fill in any holes or cracks with spackle. Sand the area smooth and clean the walls to remove dust and grease. Ensure the surface is dry and smooth, as imperfections will show through the wallpaper.
Measure and cut the wallpaper:
Measure the height of your walls and cut the wallpaper into strips, allowing for a little extra length at the top and bottom. If your wallpaper has a pattern, ensure to align the pattern correctly when cutting the strips. It’s helpful to use a straight edge to ensure clean, straight cuts.
Apply adhesive:
If you’re using non-pasted wallpaper, apply adhesive according to the manufacturer’s instructions. Use a roller or brush to evenly coat the back of the wallpaper, ensuring all edges are covered. If your wallpaper is pre-pasted, activate the adhesive by soaking the strips in water as per the instructions.
Hang the wallpaper:
Begin hanging your wallpaper from the top of the wall, ensuring it’s straight. Use a level to check that the first strip is aligned properly. Carefully press the wallpaper onto the wall, working your way down. Use wallpaper smoothing tool or brush to eliminate any air bubbles, starting from the center and working outward.
Trim excess wallpaper:
Once the first strip is in place, use a utility knife to trim any excess wallpaper at the top and bottom. For a clean edge, run the knife along a straight edge or ruler. Repeat the process for each subsequent strip, ensuring the pattern aligns smoothly. After all strips are installed, clean any excess adhesive from the surface with a damp sponge. Allow the wallpaper to dry according to the manufacturer’s recommendations. Once dry, step back and admire your work!


